Presets
Presets let you bundle multiple device actions into a single command that you can activate with one click, a keyboard hotkey, or automatically via a trigger. Think of a Preset as a macro for your audio system: “when this happens, do all of that.”
Key Concepts
| Concept | What it does |
|---|---|
| Preset | A named container that holds one or more Actions and zero or more Triggers. |
| Action | A single operation that runs when the Preset is activated (e.g. switch input, set volume, select a Dirac profile). Actions run in the order you define. |
| Trigger | An event that automatically activates the Preset without manual intervention (e.g. when the amplifier switches to a certain input). |
| Hotkey | An optional keyboard shortcut bound to a Preset so you can activate it from anywhere. |
A Preset can be activated in three ways:
- Manually: click the Preset in the dropdown on the main window.
- Hotkey: press the assigned keyboard shortcut.
- Trigger: the Preset fires automatically when a matching event occurs on your device.
Managing Presets
Creating a Preset
- Open Settings and navigate to the Presets tab.
- Click Add Preset.
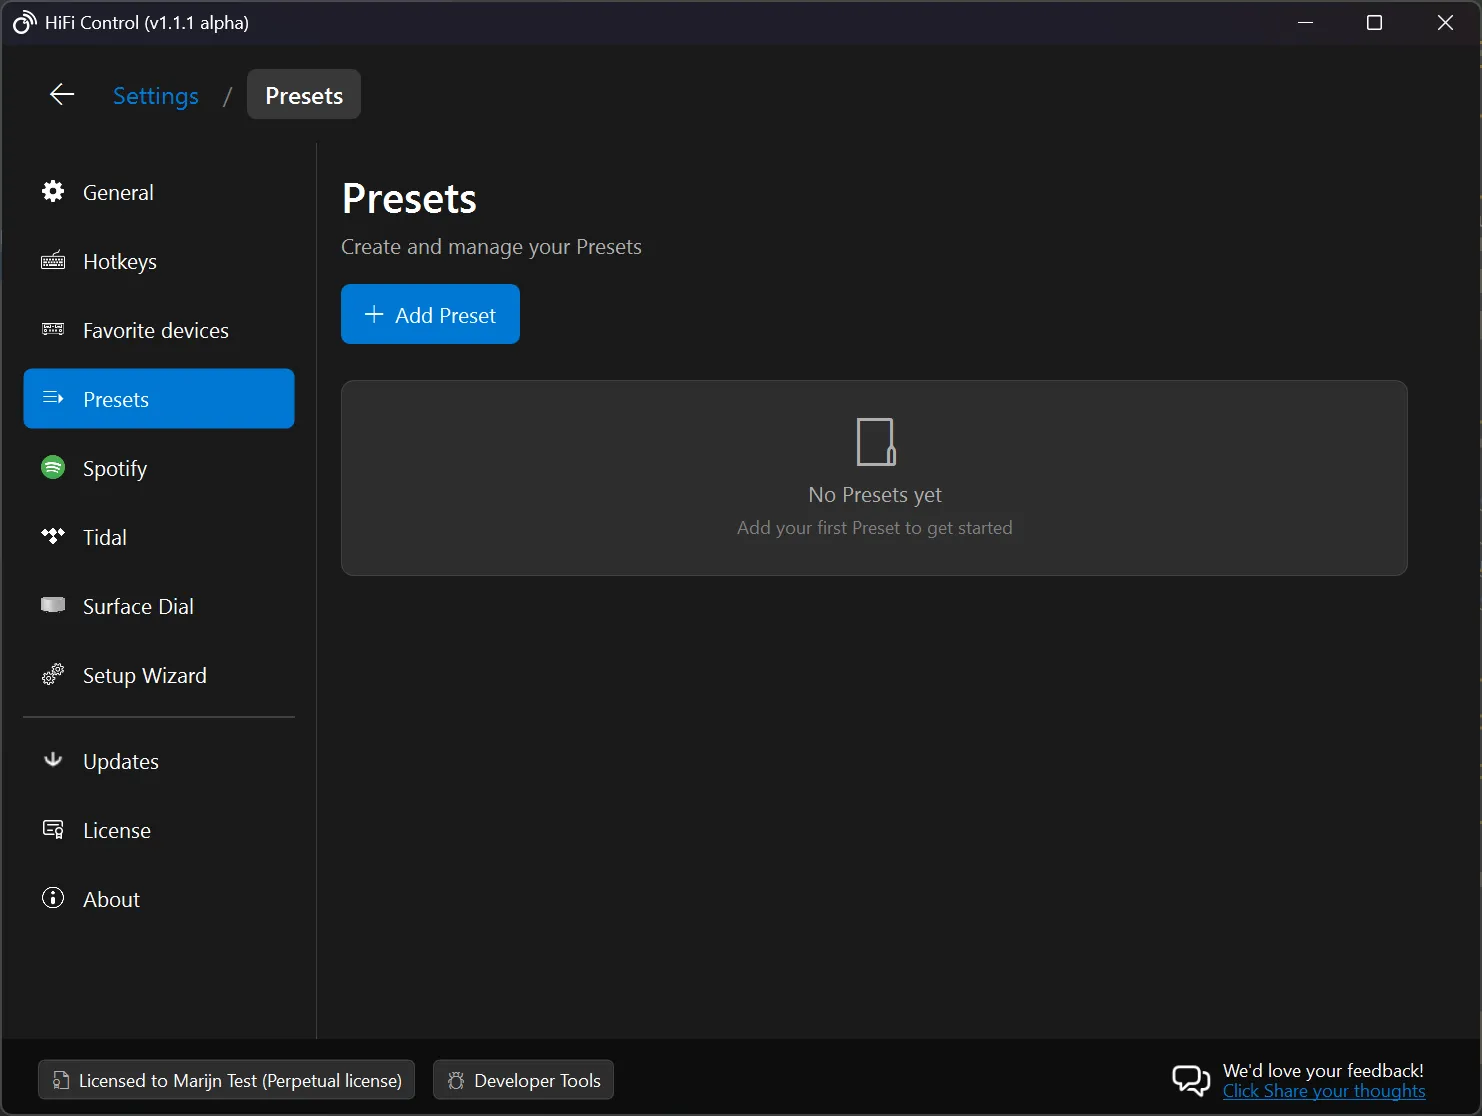
- A new Preset is created and the Preset Settings panel opens.
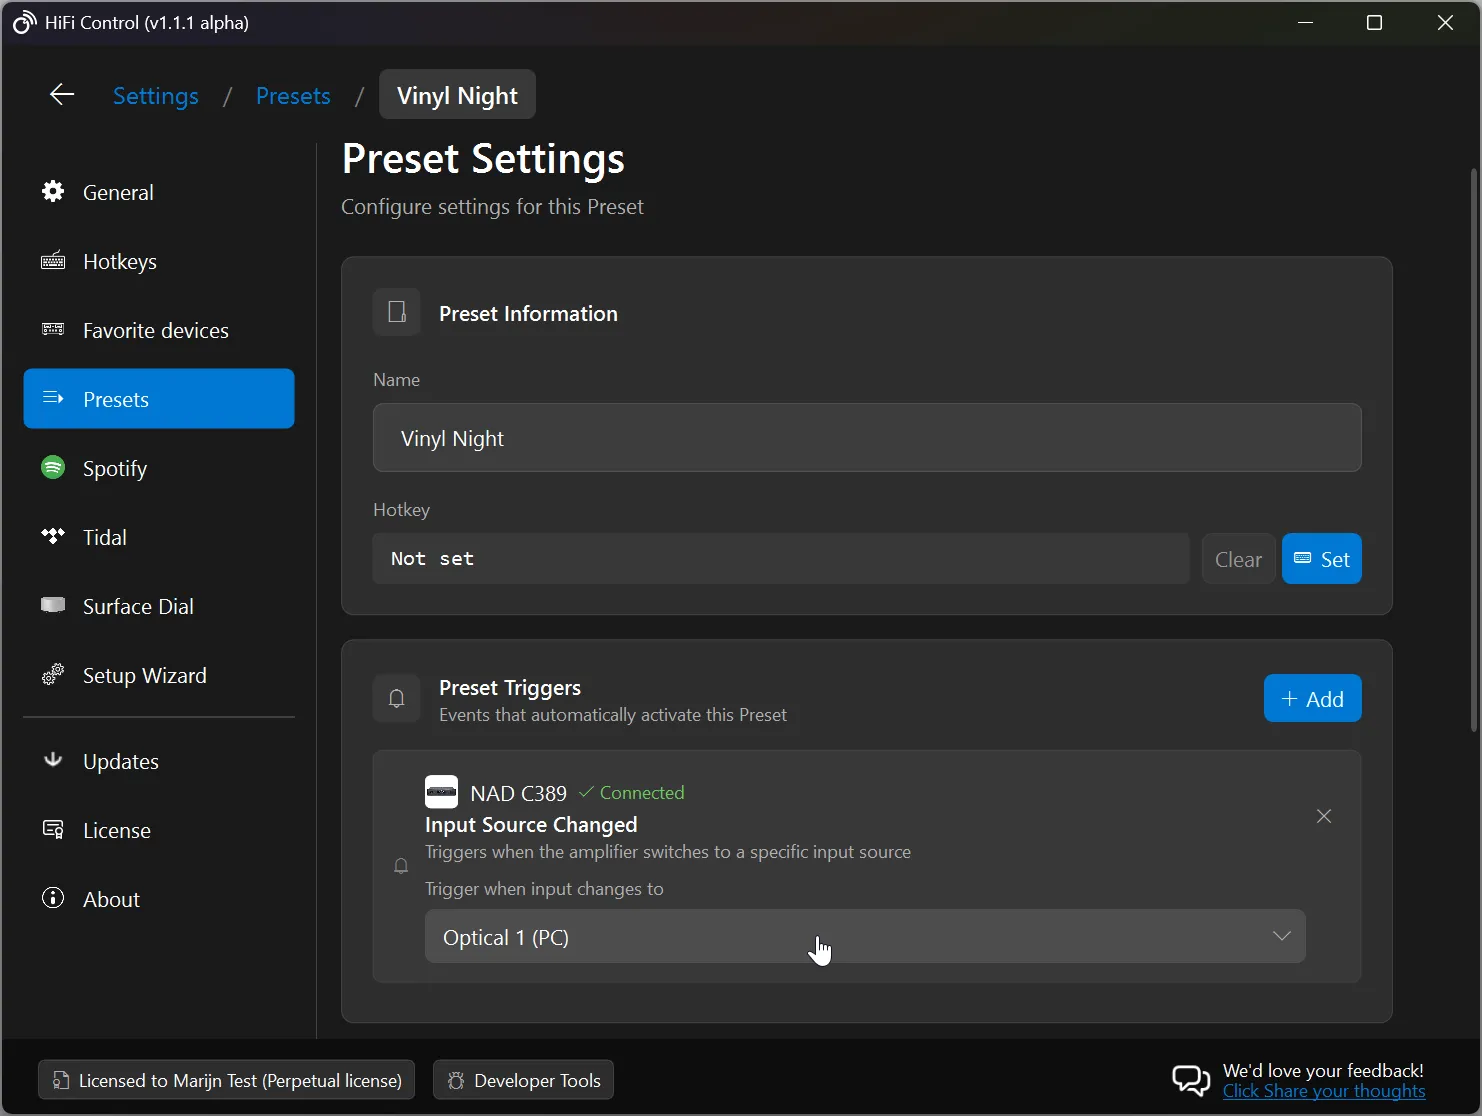
- Give your Preset a descriptive Name (e.g. “Vinyl Night”).
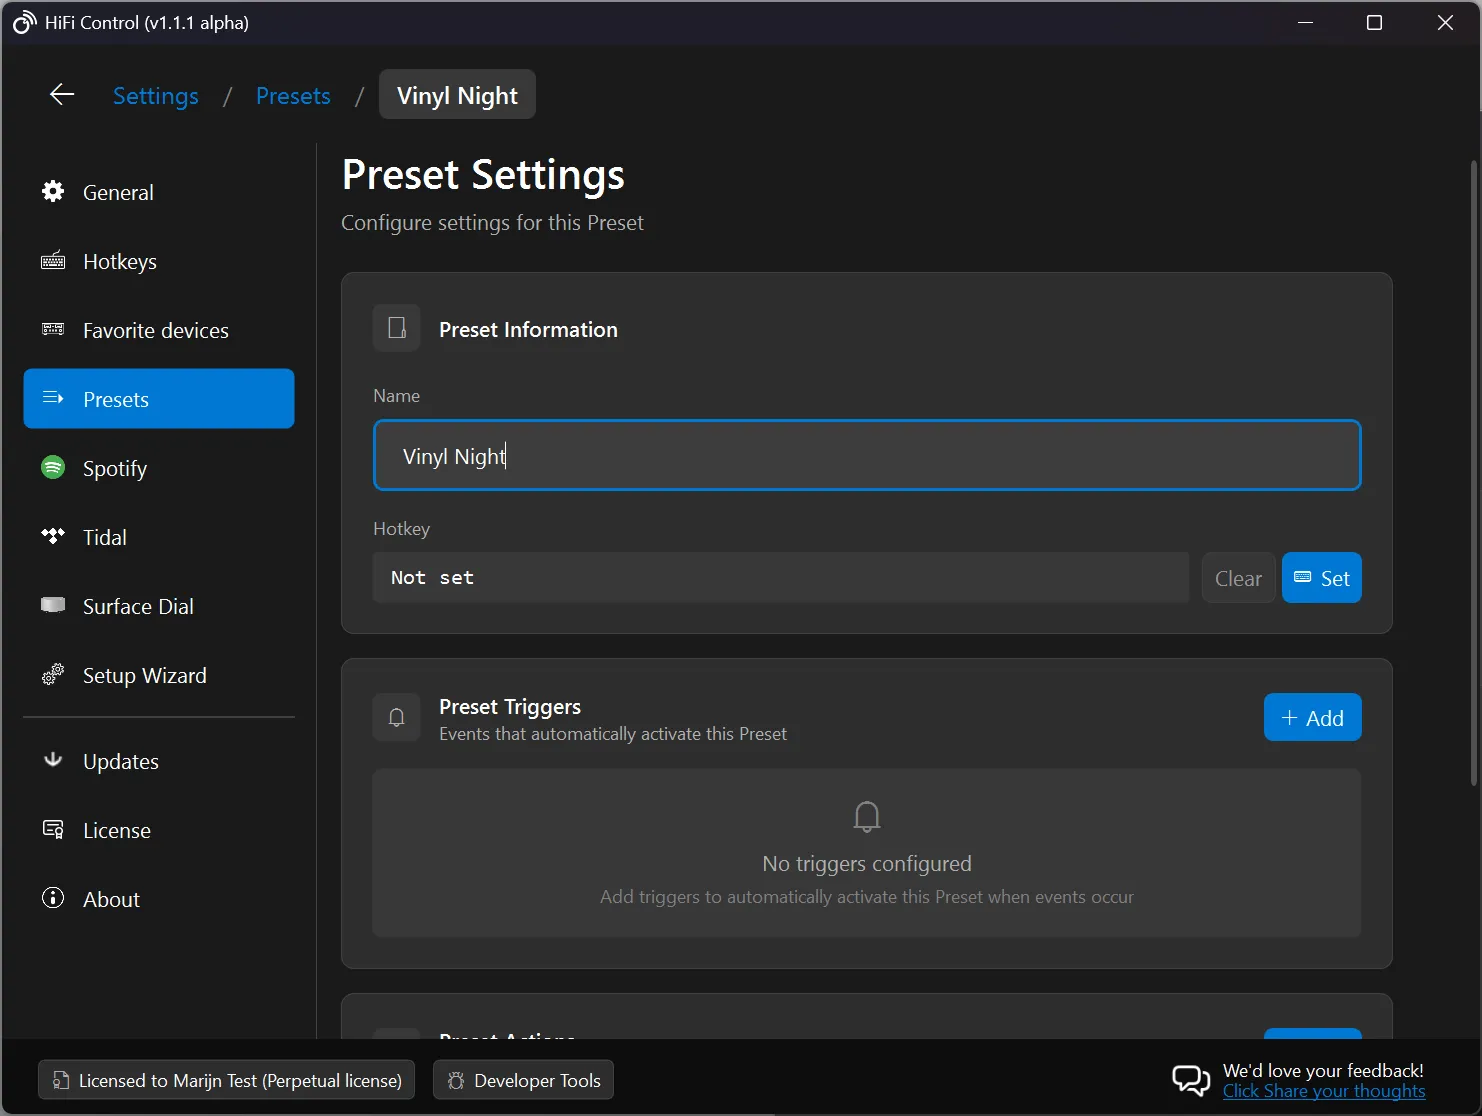
Editing a Preset
Click a Preset in the list (or press the Edit button) to open the Preset Settings panel. From here you can:
- Rename the Preset
- Assign or clear a Hotkey
- Add, remove, or reorder Actions
- Add or remove Triggers
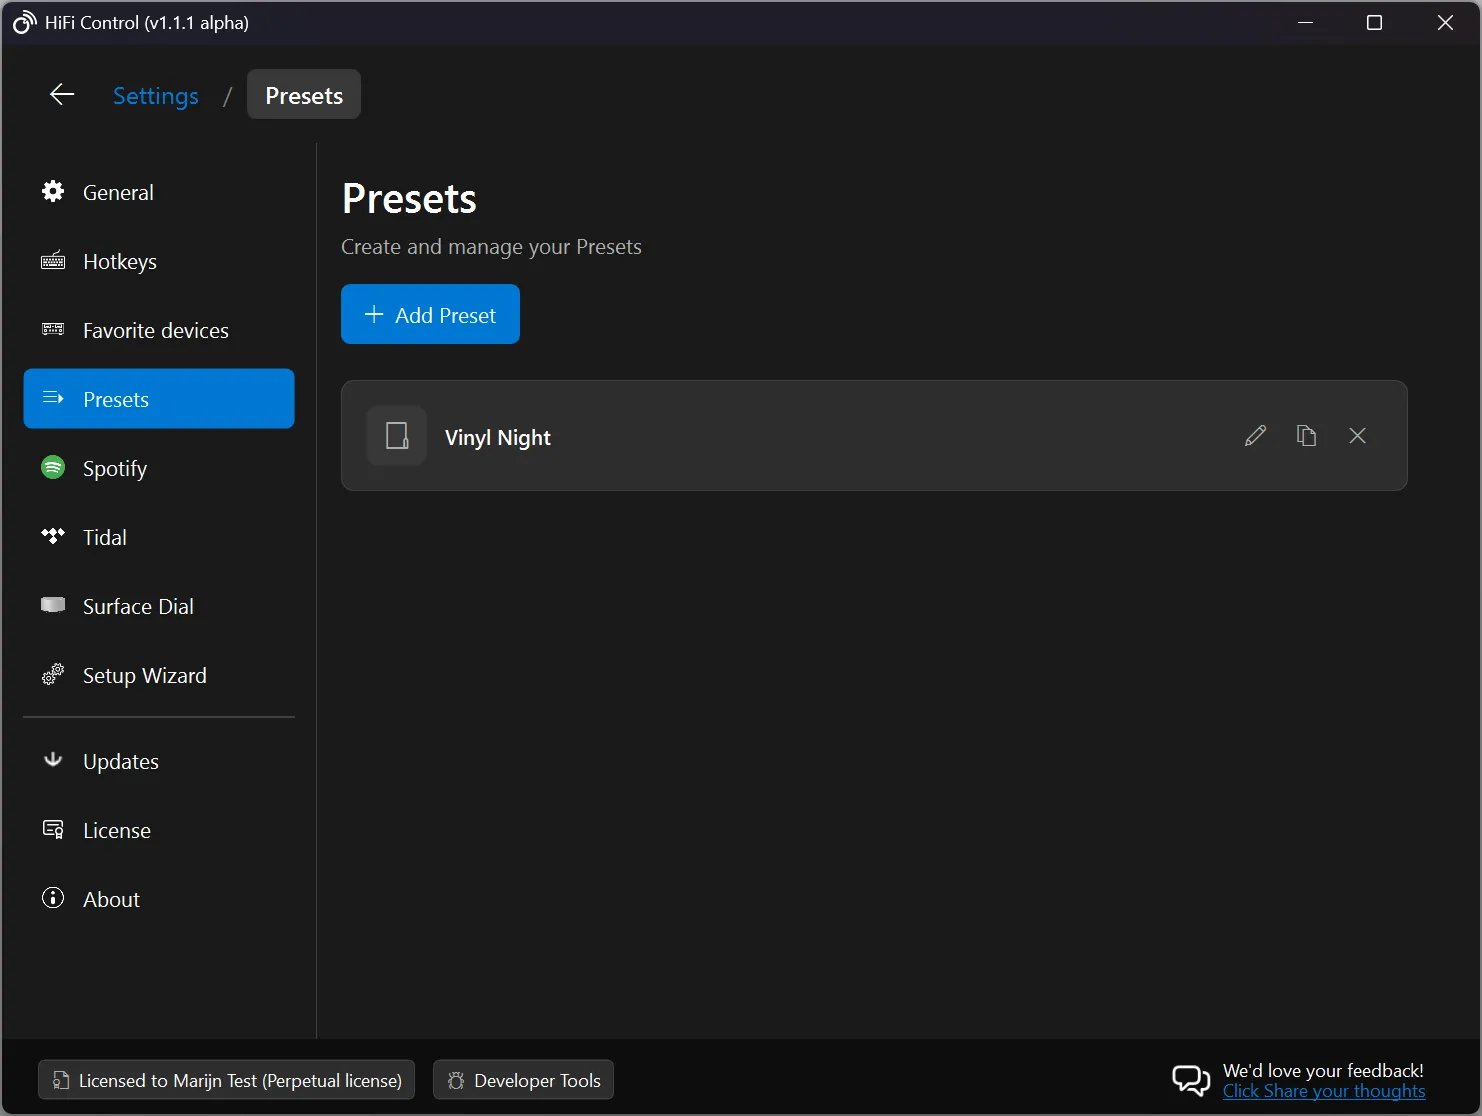
Duplicating & Removing Presets
Each Preset in the list has Duplicate and Remove buttons on the right-hand side. Duplicating a Preset copies all its actions, triggers, and settings into a new Preset.
Preset Actions
Actions define what happens when a Preset is activated. You can add multiple actions to a single Preset and they execute sequentially in the order shown.
Adding an Action
- In the Preset Settings panel, scroll to the Preset Actions section.
- Click Add.
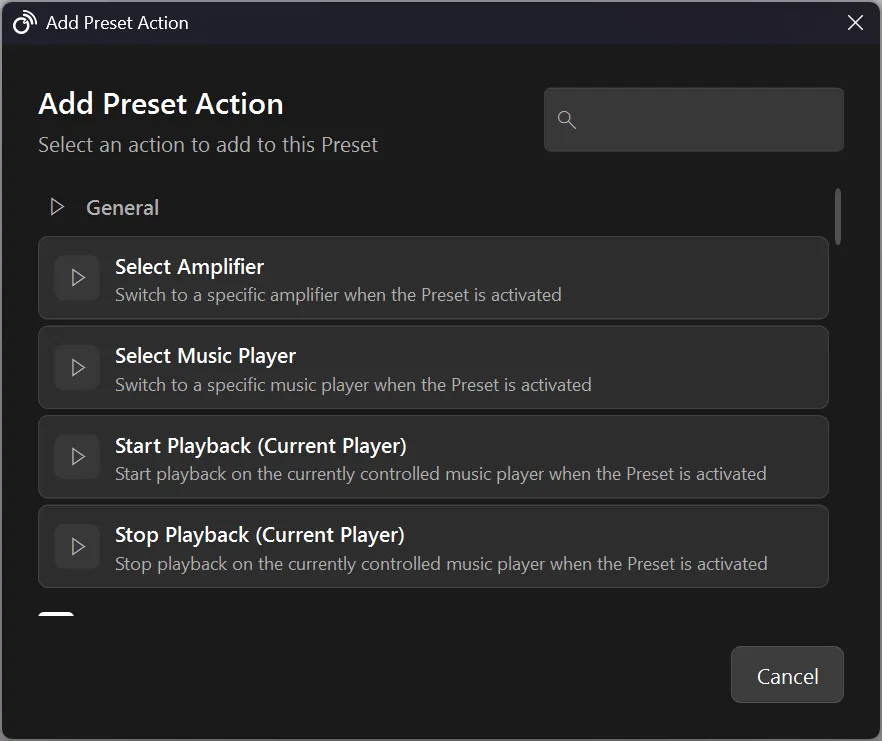
- In the dialog that appears, choose an action from the categorised list.
- Configure the action’s parameters (e.g. select the target device, choose an input source, set a volume level).
Reordering Actions
Use the up / down arrows next to each action, or drag and drop to reorder them. The execution order follows the visual order from top to bottom.
Available Actions
The actions listed here are the ones available in HiFiControl v1.1. More actions may be added in future updates, and plugins can also register their own custom actions.
General
| Action | Description |
|---|---|
| Select Amplifier | Switch HiFiControl’s active amplifier to a specific device. |
| Select Music Player | Switch HiFiControl’s active music player to a specific device. |
Amplifier
| Action | Description |
|---|---|
| Select Input Source | Switch the amplifier to a specific input (e.g. Phono, HDMI 1, Optical). |
| Select Preset | Activate a numbered preset stored on the amplifier itself. |
| Set Amplifier Volume | Set the volume to a specific dB level. |
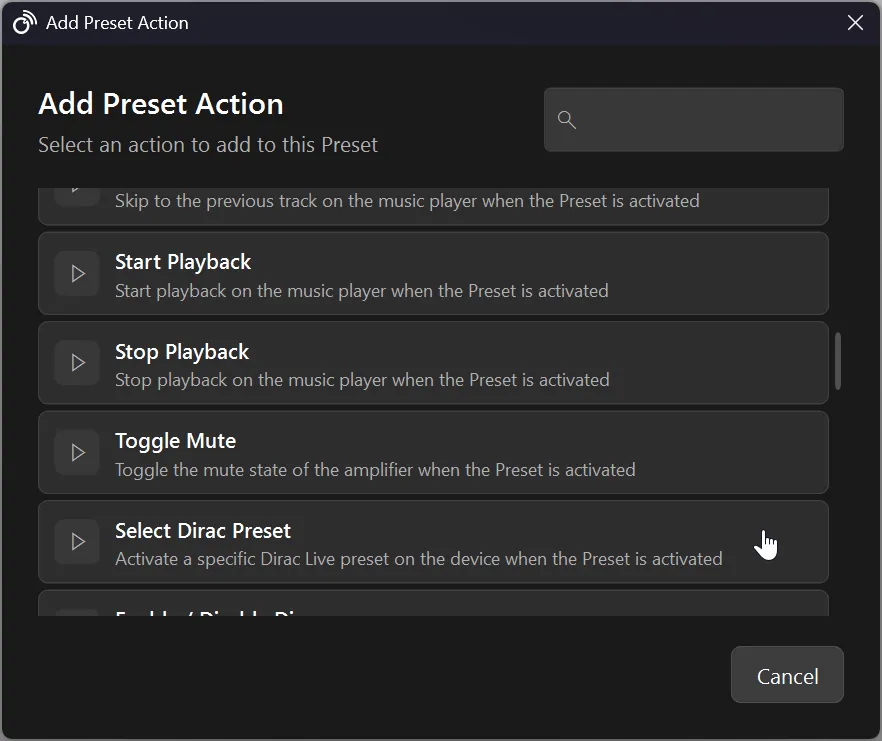
| Toggle Mute | Toggle the amplifier’s mute state. |
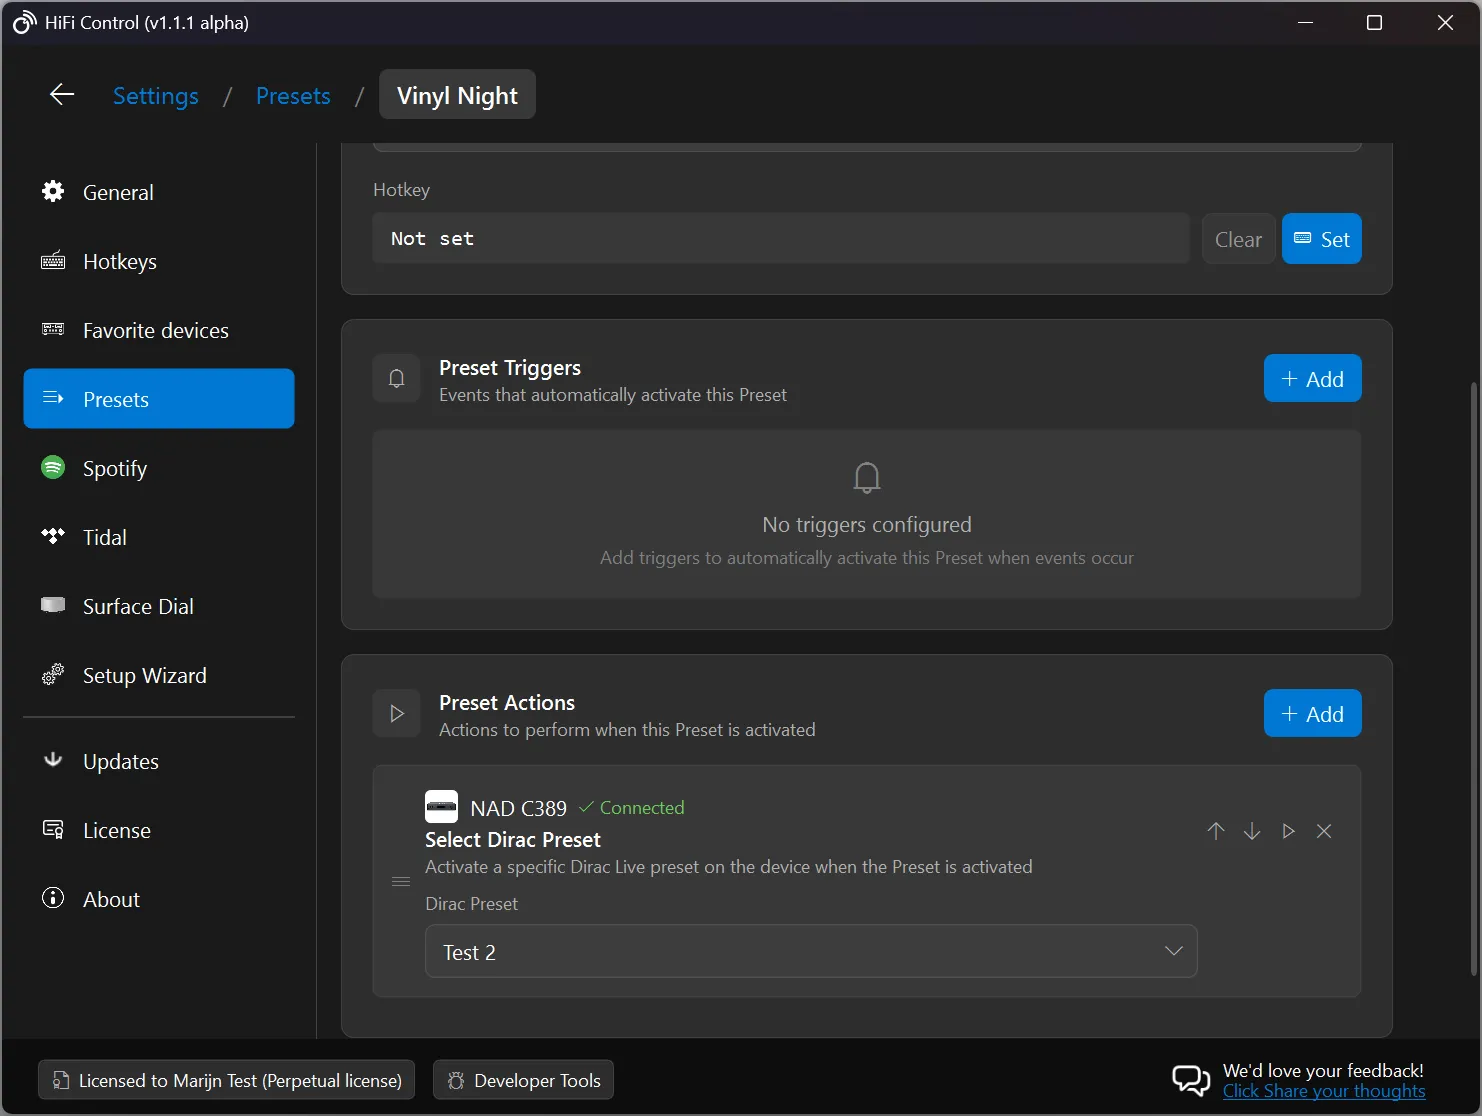
| Select Dirac Preset | Activate a specific Dirac Live room correction profile (requires a Dirac-capable device). |
| Enable/disable Dirac | Turn off or on Dirac on your device.*. |
Music Player
| Action | Description |
|---|---|
| Start Playback | Start or resume playback on the music player. |
| Stop Playback | Stop playback on the music player. |
| Skip to Next Track | Skip to the next track in the queue. |
| Skip to Previous Track | Skip to the previous track in the queue. |
| Select Preset | Activate a numbered preset stored on the music player. |
| Select Playback Device | Route audio to a specific playback device on the music player. |
| Play Playlist | Starts playback of the selected playlist. |
Testing an Action
Each action in the list has a Play button that lets you execute that single action immediately, without activating the full Preset. This is useful for verifying your configuration.
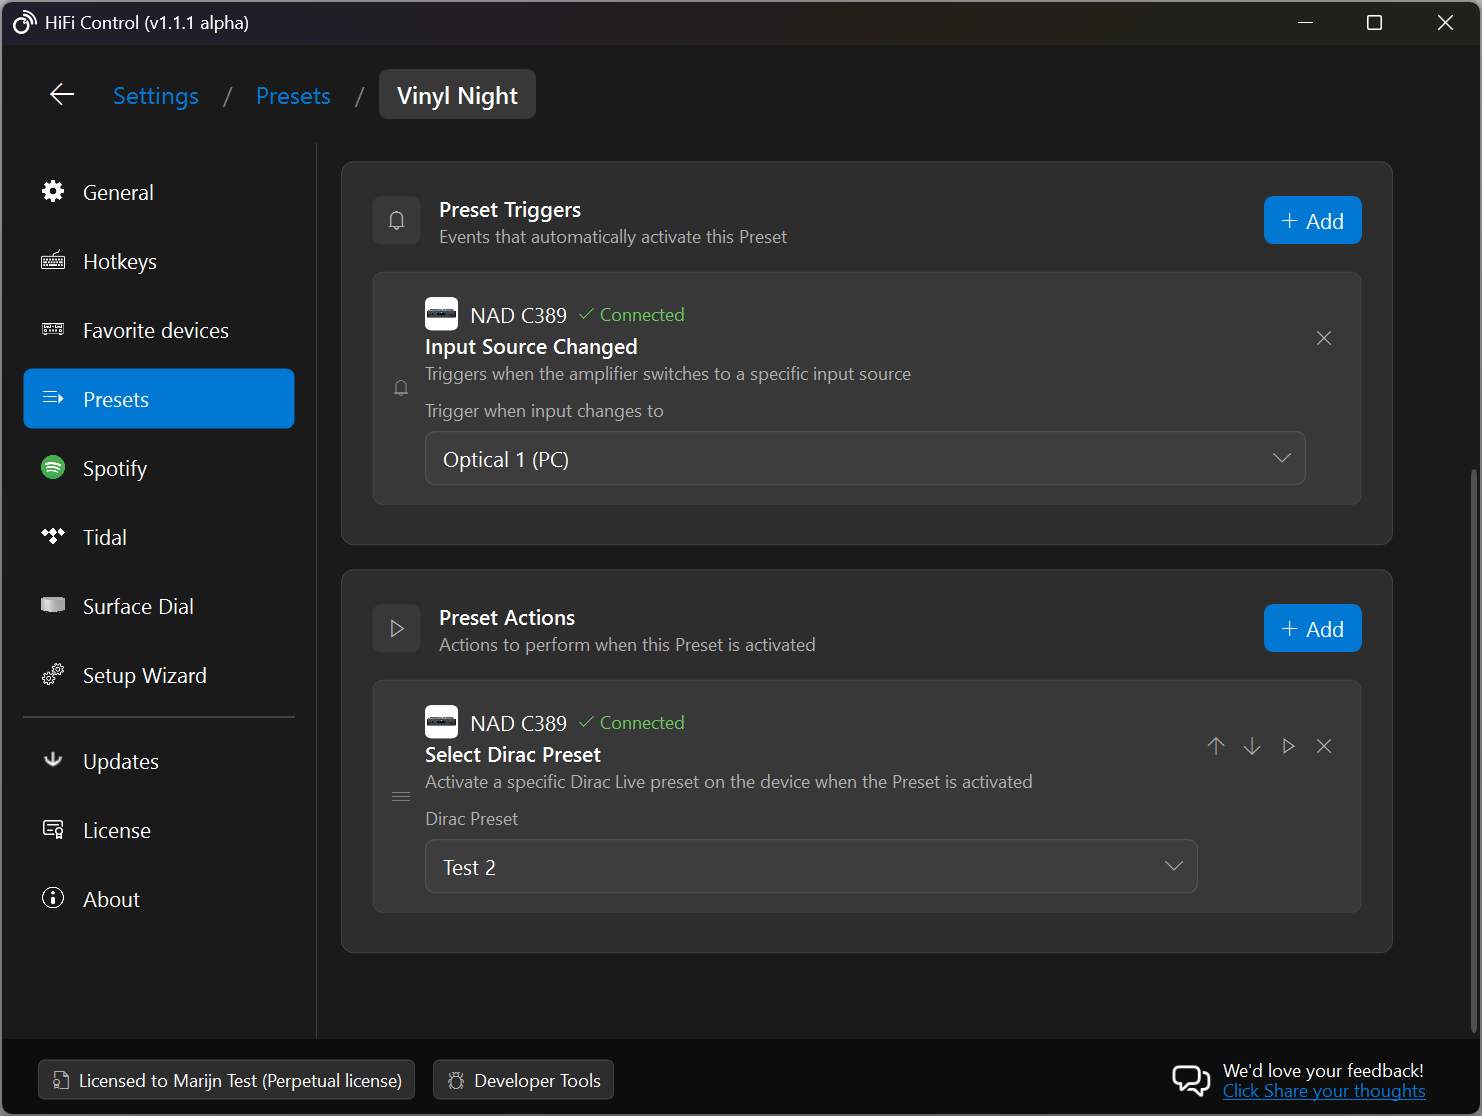
Preset Triggers
Triggers let a Preset activate automatically when a specific event occurs on one of your audio components. This is the real power of Presets: you can create fully automated workflows that respond to changes on your devices in real time.
Adding a Trigger
- In the Preset Settings panel, scroll to the Preset Triggers section.
- Click Add.
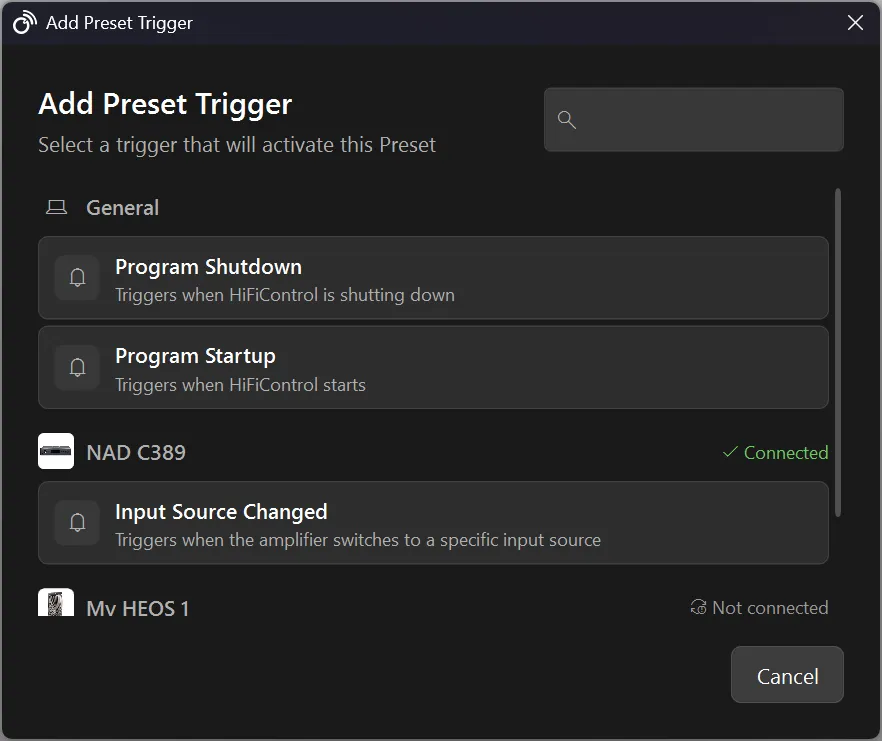
- In the dialog, select a trigger from the list. Triggers are grouped by device so you can easily pick the right component.
- Configure the trigger’s parameters (e.g. choose which input source should activate the Preset).
Available Triggers
| Trigger | Category | Description |
|---|---|---|
| Input Source Changed | Amplifier | Fires when the amplifier switches to a specific input source. |
Note: More trigger types may be added in future versions. The trigger system is extensible — plugins can register their own trigger types.
How Trigger Monitoring Works
When HiFiControl starts (and the Presets feature is initialised), a background Trigger Monitor begins listening for device events via the notification bus. Whenever an event arrives (e.g. an input source change), the monitor checks every Preset’s triggers. If a trigger matches, the Preset’s actions are executed automatically.
Key behaviours:
- Re-entrance protection: If a Preset is already executing (e.g. because its actions are slow), it will not be triggered again until the current execution completes.
- Multiple triggers: A Preset can have multiple triggers. Any one of them matching is enough to activate the Preset.
- Multiple Presets: Different Presets can react to the same event. Each matching Preset will execute.
Removing a Trigger
Click the Remove button (✕) next to the trigger you want to delete.
Hotkeys
Each Preset can optionally be assigned a global keyboard hotkey. When pressed, the hotkey activates the Preset from anywhere — even when HiFiControl is minimised or in the system tray.
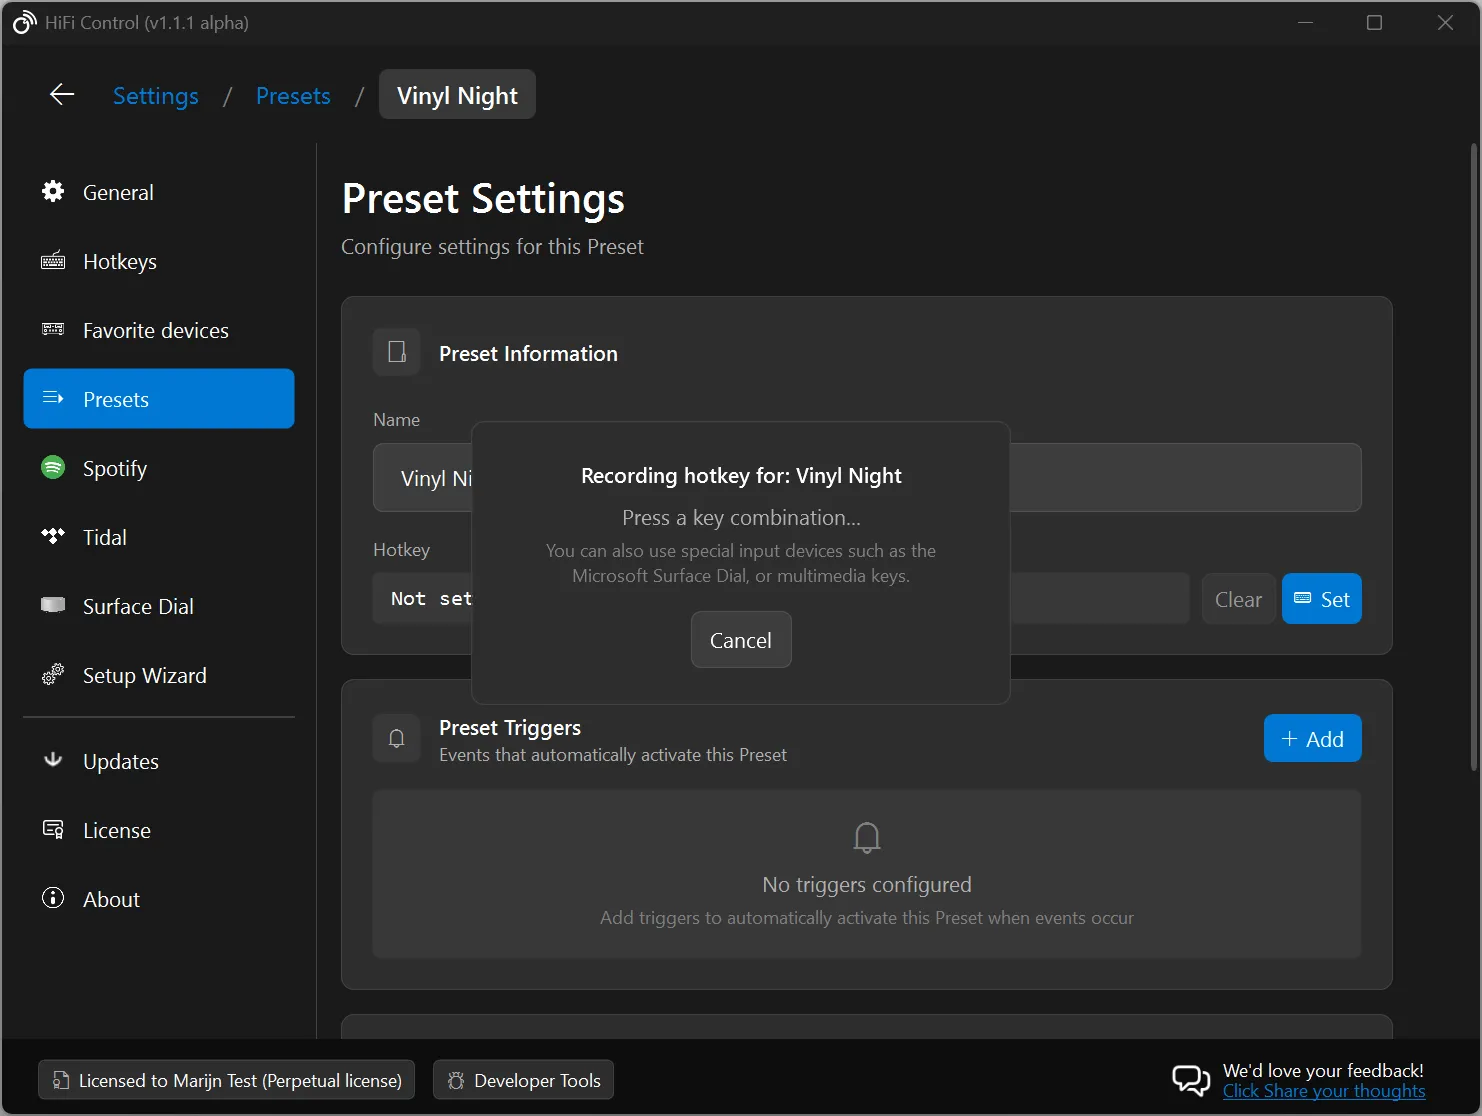
- In the Preset Settings panel, find the Hotkey section.
- Click Set and press your desired key combination.
- The hotkey is displayed in the field (e.g.
Ctrl + Shift + V). - To remove a hotkey, click Clear.
Real-World Example: Auto-Select a Dirac Profile When Switching Inputs
The Scenario
You have a BluOS-powered amplifier (e.g. a NAD T 778) with Dirac Live room correction. You’ve created different Dirac profiles for different listening scenarios:
- “Vinyl”: optimised for your turntable connected to the Phono input.
- “Home Theater”: optimised for movie surround sound on the HDMI 1 input.
- “Music”: your default profile for streaming via the BluOS input.
Normally you’d have to manually switch the Dirac profile every time you change input. With Presets and Triggers, HiFiControl can do this automatically.
Step-by-Step Setup
1. Create a new Preset
- Go to Settings → Presets.
- Click Add Preset.
- Name it “Vinyl — Dirac”.
2. Add the Dirac action
- In the Preset Actions section, click Add.
- Find your amplifier in the list, then select Select Dirac Preset.
- In the action’s settings, choose the “Vinyl” Dirac profile from the dropdown.
3. Add the input source trigger
- In the Preset Triggers section, click Add.
- Find your amplifier in the list, then select Input Source Changed.
- In the trigger’s settings, choose “Phono” as the input source.

4. Verify the configuration
Your Preset should now look like this:
- Name: Vinyl — Dirac
- Trigger: Input Source Changed → Phono (on your amplifier)
- Action: Select Dirac Preset → Vinyl (on your amplifier)
5. Test it
Switch your amplifier’s input to Phono; either physically on the device, via its remote, or through HiFiControl’s input selector. Within a moment, HiFiControl will detect the input change, match the trigger, and automatically switch the Dirac profile to Vinyl.
You can verify it worked by checking the Dirac panel in HiFiControl or by looking at the amplifier’s display.
Taking it further
Repeat the process for your other inputs:
| Preset Name | Trigger (Input Source Changed →) | Action (Select Dirac Preset →) |
|---|---|---|
| Vinyl — Dirac | Phono | Vinyl |
| Home Theater — Dirac | HDMI 1 | Home Theater |
| Music — Dirac | BluOS | Music |
You can also combine the Dirac action with other actions in the same Preset. For example, the “Vinyl — Dirac” Preset could also set the volume to −30 dB:
- Click Add in the Actions section.
- Select Set Amplifier Volume.
- Set the target volume to −30 dB.
Now, every time you switch to the Phono input, HiFiControl will both select the Vinyl Dirac profile and set your preferred listening volume; all automatically.
Execution & Error Handling
When a Preset executes (whether manually, via hotkey, or via trigger), HiFiControl:
- Connects to all audio components referenced by the Preset’s actions.
- Executes each action in order.
- Reports any errors that occurred during execution.
If one action fails, the remaining actions still execute. After completion, if any errors occurred, an error dialog is shown listing which actions failed and why (e.g. a device was unreachable).
Tip: Use the Play button on individual actions to test them one at a time before relying on the full Preset.